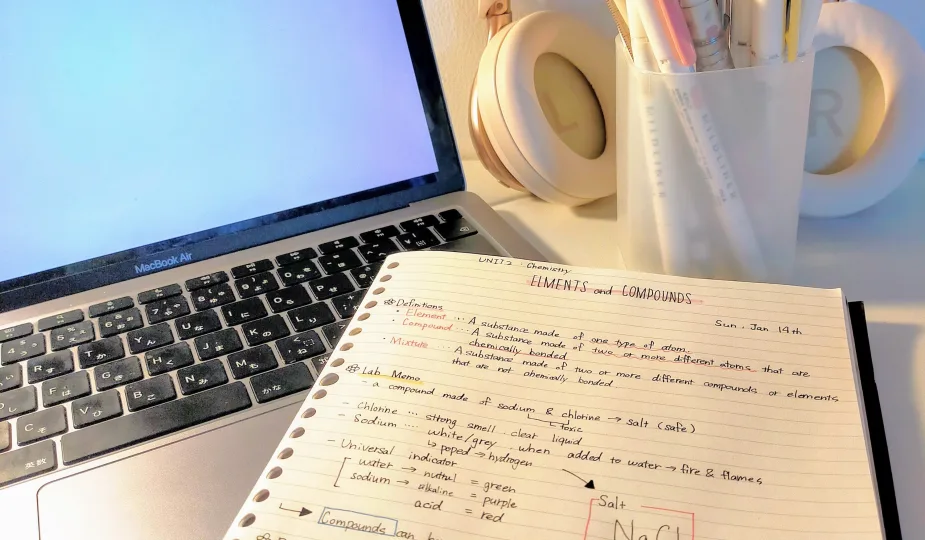
Have you ever been so prepared to take notes in class with your super cute makers but you never actually never did?
Well, it’s probably because you just didn’t know where to start.
If so, this article is perfect for you!
In this article, I will be teaching you how to structure your notes, use your markers effectively, and create a USEFUL notebook like a *PINTEREST GIRLY*. Not a notebook filled with your doodling…
After reading this, you will be so excited for your next class because you’re going to have the most aesthetic notebook in the whole class!! And for sure, everyone in your class will be jealous…
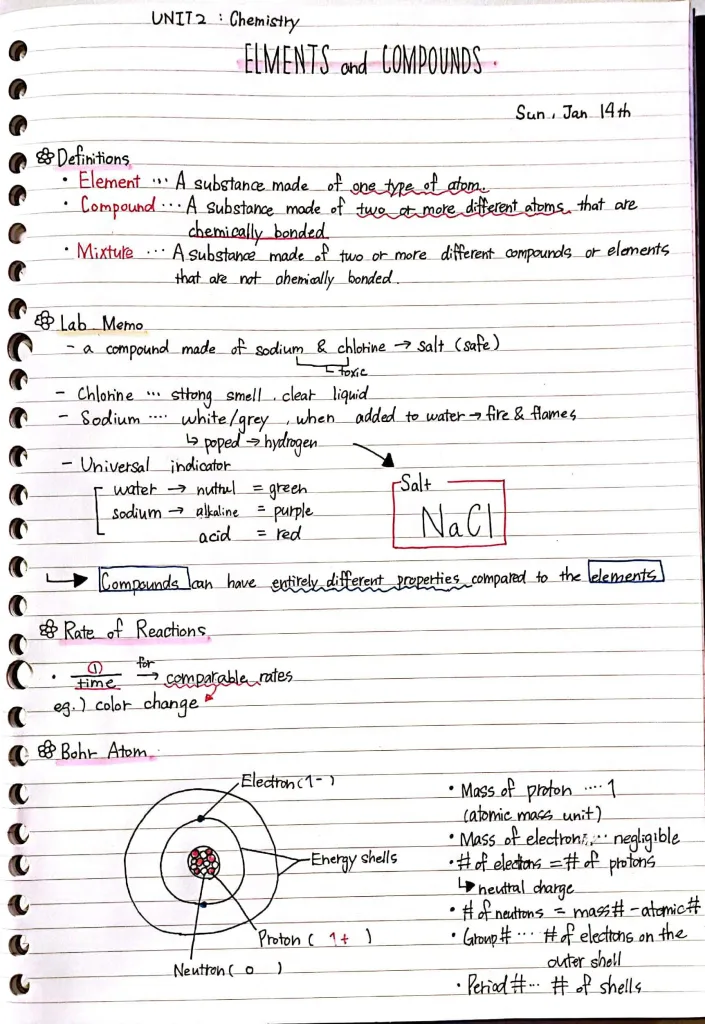
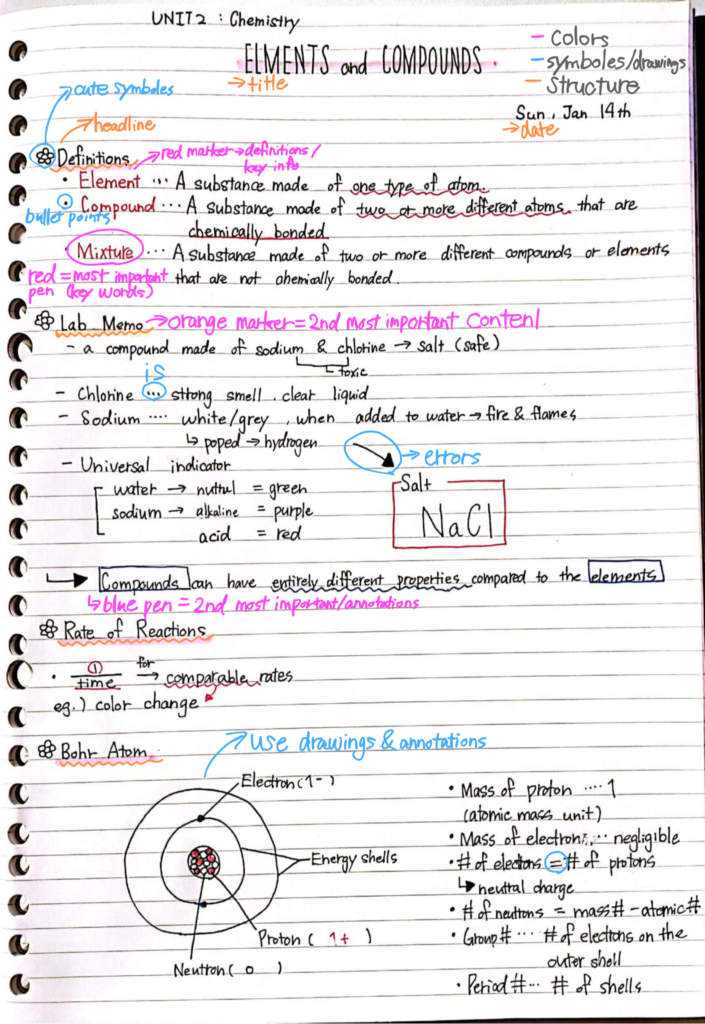
Before we dive into our topic today, here I have my actual notes as an example.
Basic Structure
The first thing you need to know is HOW TO structure your notes. This is probably where you used to struggle the most.
- Write the TITLE of the topic in the top-middle (Elements and Compounds)
- Write down the DATE on the right below the title (Sunday, January 14th)
- Separate your topic HEADLINES (“Definitions”, “Rate of Reactions”, etc.)
Yes! This is the basic structure you have to know!
The most important part is to separate into sections and headline them. The reason behind this is that the notes look cleaner and more organized meaning that it’s going to be easier for you to review your notes.
If you want to separate one section into multiple sections, you can do that too!
Use Different Colors Depending on the Importance
I assume this is the most fun part of note-taking! DECOR!!
However, using random colors and decorating doesn’t help. As you guys may experienced this, it is very confusing when you’re revising your notebooks for you don’t know what color means what.
If you want to make your notes aesthetic but clean, I recommend using this principle which I call “THE 3 COLOR RULE.”
It’s basically about only using up to 3 colors in your notes with each having meanings to it.
For example, I use red, orange, and blue markers for the headings and red blue, and black ball-point pens for the writing.
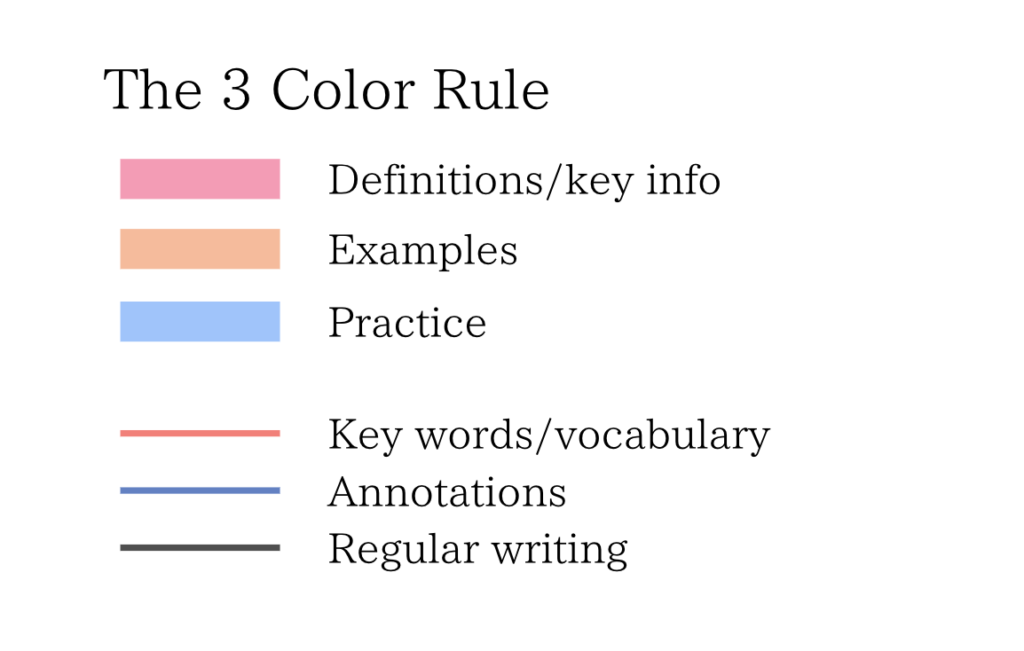
This way, it makes your notebook colorful and aesthetic, but at the same time, the revision will be more effective too.
Just for reference, I love using the Mildliner Markers. If you know them, they have 2 sides bold and fine, and they have the most aesthetic colors. There not too vibrant and vivid which is one thing I love but the other thing is that the variety of colors they have is incredible. If you are interested in them, I recommend checking them out!!
Symbols and Drawings
I assume that a lot of us get bored when reading paragraphs and paragraphs of sentences.
This is the same with notebooks.
To solve this, we can use symbols and drawings to make cuter, more fun, and more organized notes. You might have just thought that “I’m suck at drawing…” But hey, that’s totally fine since sadly, I’m an also a really bad artist.
But using these easy symbols will help you organize your note book.
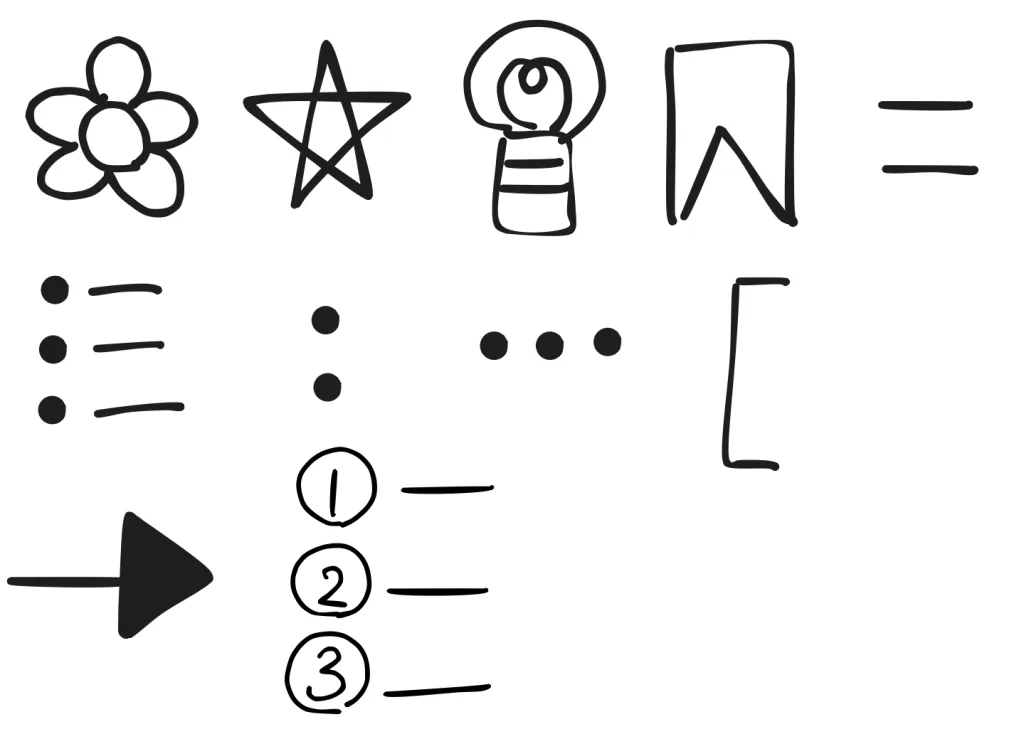
Not only drawing these little symbols but drawing can help understand the topic a lot. For example, in my notebooks, i tried drawing an atom diagram and annotate it.
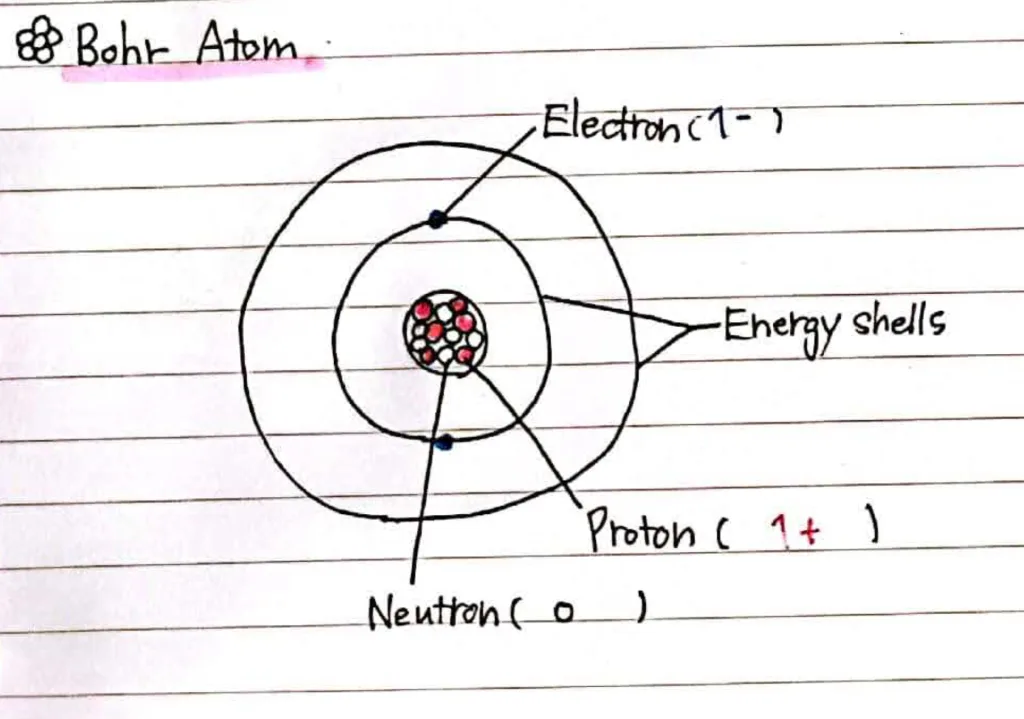
This is so much easier then writing down all of the characteristics. It helps visualize the topic and further understand it.
I hope that this article helped you a lot!! I really understand that it’s hard to motivate yourself to take notes. But if it’s aesthetic, you will definitely gonna want to slay your notes from tomorrow.
Also If you guys want the annotated version of my notes, here it is!
See you guys soon:)
